
With the rise of open source LLMs, DeepSeek R1 has attracted a lot of recognition due to its openness, performance and its compatibility. If you’re trying to figure out how you can use DeepSeek R1 localy This detailed guide will show you everything from the requirements to setting up.
What is DeepSeek R1?
DeepSeek R1 is an extremely powerful, open-source Large Language Model (LLM) created by DeepSeek. It is a top-of-the-line model, competing with GPT-4 for reasoning, programming, as well as general purpose NLP tasks.
-
Model Size 236B Parameters (for the base model of R1)
-
Supports: Chat, code generation, reasoning
-
License: Open (Apache 2.0)
Find out more about LLMs and technology developments on artkerala.com.
System Requirements to Run DeepSeek R1 Locally
DeepSeek R1 can be heavy on resources and local deployment needs serious hardware:
Minimal Hardware (for for inference):
-
GPU: 1x NVIDIA A100 80GB or 2-4x RTX 4090 (24GB VRAM)
-
RAM: 64-128 GB
-
Storage 200GB+ (for model weights, dependencies and models)
-
OS: Linux (Ubuntu 20.04+ recommended)
For smaller settings, try DeepSeek’s R1-Instruct 7B A lighter version of the.
Step-by-Step Guide: Running DeepSeek R1 Locally

Step 1: Install Required Packages
Bashsudo apt update and sudo apt install -y Git Python3 python3-pip Install torch transformers to speed up bitsandbytes
Check that you’re CUDA drivers are current to allow GPU acceleration.
Step 2: Clone DeepSeek R1 Repo
blastgit clone https://github.com/deepseek-ai/DeepSeek-Vision cd DeepSeek-Vision
(Repo name can differ depending on the version; refer to DeepSeek GitHub for the exact repos. )
Step 3: Download Model Weights
The weights you download can be found from
Make use of the git the lfs in the event that the model requires it:
blastgit lfs install git clone https://huggingface.co/deepseek-ai/deepseek-coder-33b-instruct
Step 4: Load and Run the Model
Create an Python program run_deepseek.py:
Pythonfrom transformers import AutoTokenizer, AutoModelForCausalLM model_path = "deepseek-ai/deepseek-coder-33b-instruct" tokenizer = AutoTokenizer.from_pretrained(model_path) model = AutoModelForCausalLM.from_pretrained(model_path, device_map="auto", load_in_8bit=True) prompt = "Explain the theory of relativity." inputs = tokenizer(prompt, return_tensors="pt").to("cuda") outputs = model.generate(**inputs, max_new_tokens=200) print(tokenizer.decode(outputs[0], skip_special_tokens=True))
Run with:
Bashpython3 run_deepseek.py
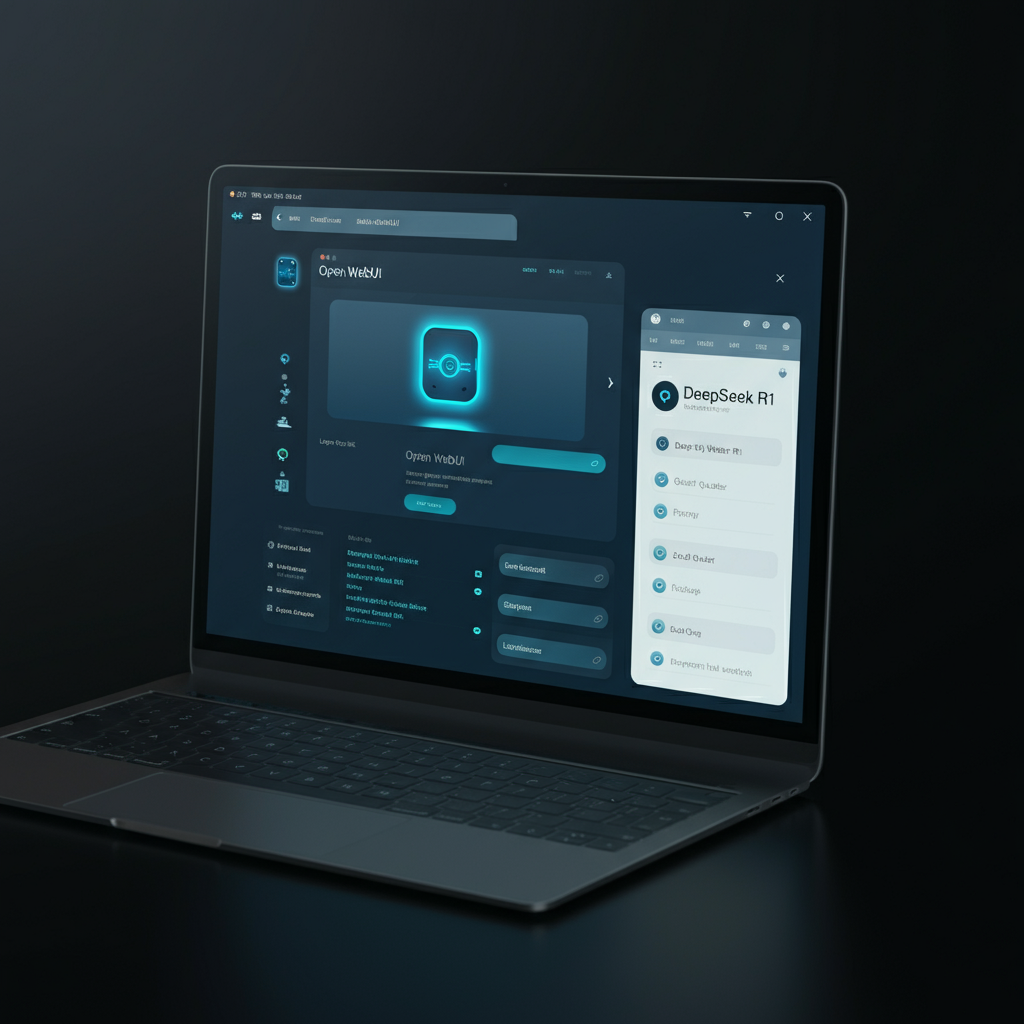
Optional: Use in conjunction with Text Generation WebUI
If you prefer an user-friendly chat interface you can connect DeepSeek R1 into:
Add DeepSeek R1 to the the models folder and then select it from the UI.
Final Thoughts
Operating DeepSeek R1 local is feasible if you are running a high-powered machine or utilize quantized versions. For smaller settings, consider the DeepSeek Coder 7B and 33B models that provide excellent performance when it comes to coding.
If you’re looking for additional AI tutorials and tech-related information Check out artkerala.com — your go-to source for everything tech.